- SAP GUI
- Installation Process of SAP GUI
24GUI0807 – A Guide to install and access SAP Logon / Upgrade SAP GUI
A Guide to install and access SAP Logon / Upgrade SAP GUI
SAP Logon serves as the portal to the vast world of SAP ECC (ERP Central Component), enabling seamless access to crucial business processes and data. In this blog, we’ll unravel the essence of SAP Logon and guide you through the installation and access process, empowering you to harness the full potential of SAP ECC effortlessly.
Understanding SAP Logon
SAP Logon is the doorway to SAP systems, providing users with a user-friendly interface to connect to various SAP environments. It simplifies access to SAP ECC, allowing users to execute transactions, run reports and manage business operations seamlessly.
Step-by-Step Installation Guide
- Preparing for Installation
Before diving into the installation process, ensure that your system meets the necessary requirements and procure the SAP GUI software from authorized sources.
- Installation Process
Download SAP GUI: Access the SAP GUI installer package from the SAP Service Marketplace or your SAP administrator.
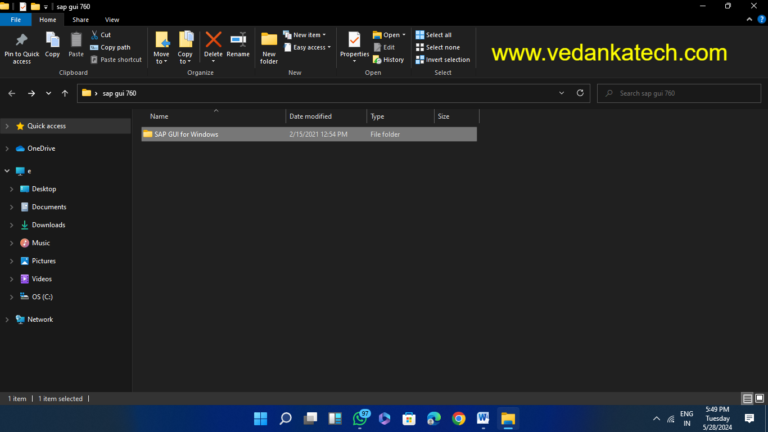
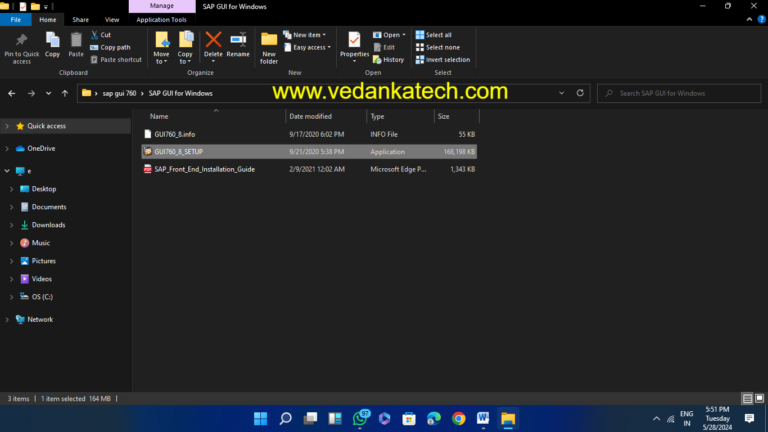
Run the Installer: Extract the downloaded files and run the setup.exe file to initiate the installation process.
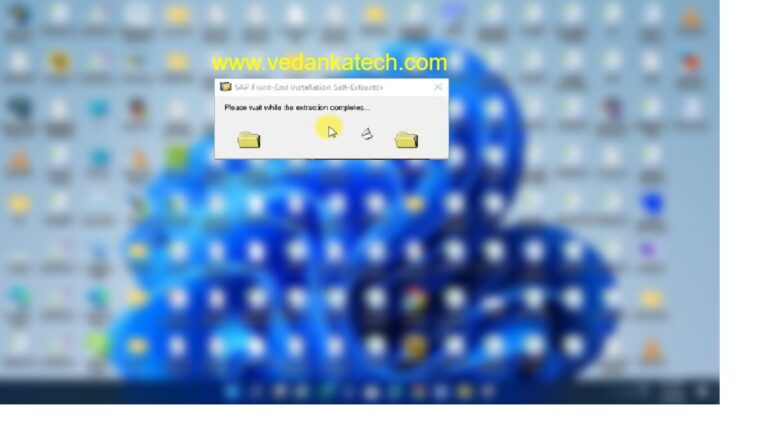
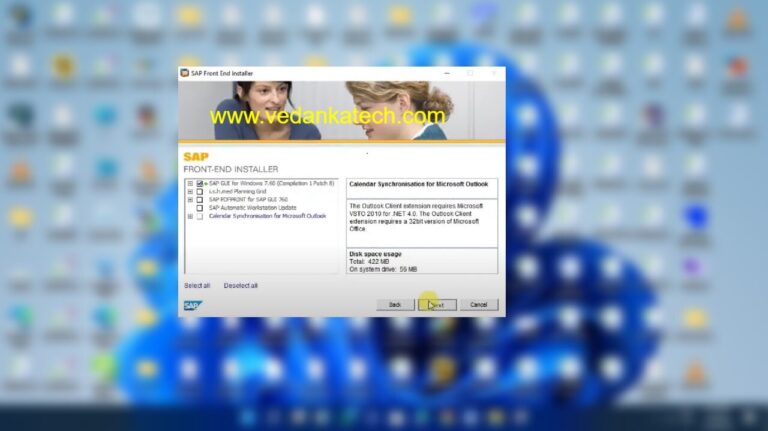
Follow the Wizard: Navigate through the installation wizard, selecting preferred language, accepting the license agreement, choosing installation components and specifying the installation directory.

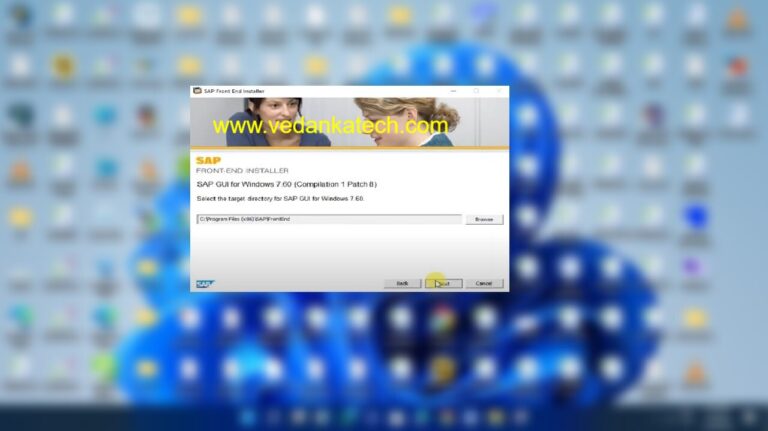
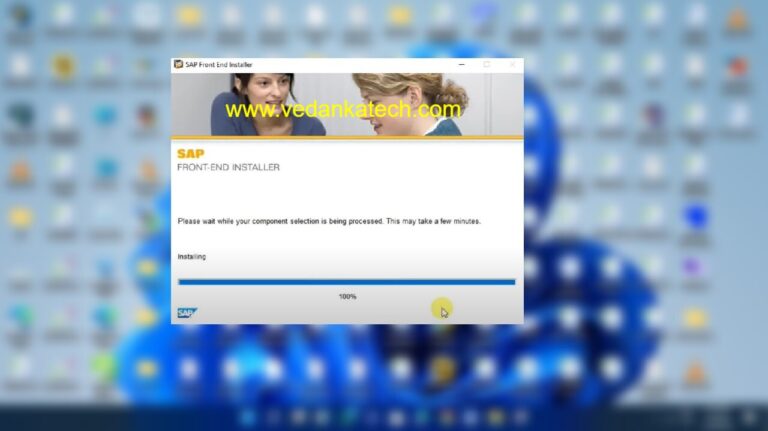

Completion: Upon successful installation, finalize the process and launch SAP Logon from the Start menu or desktop.
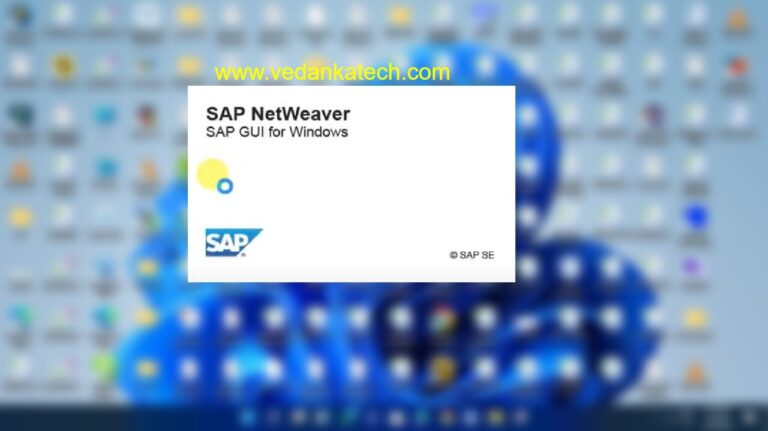
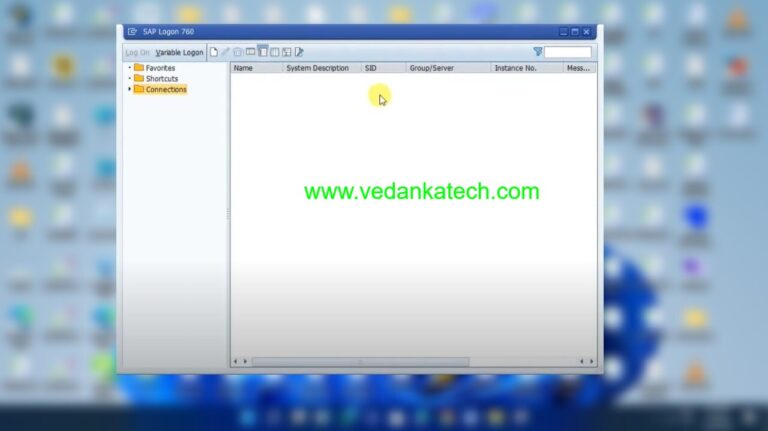
3. Configuring SAP Logon for ECC Access
Adding a New Connection: Within SAP Logon, create a new connection by clicking the “New” button and selecting “User Specified System.”
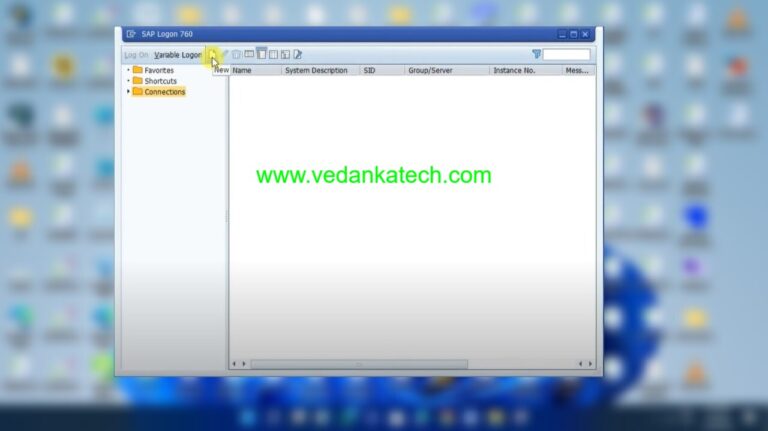
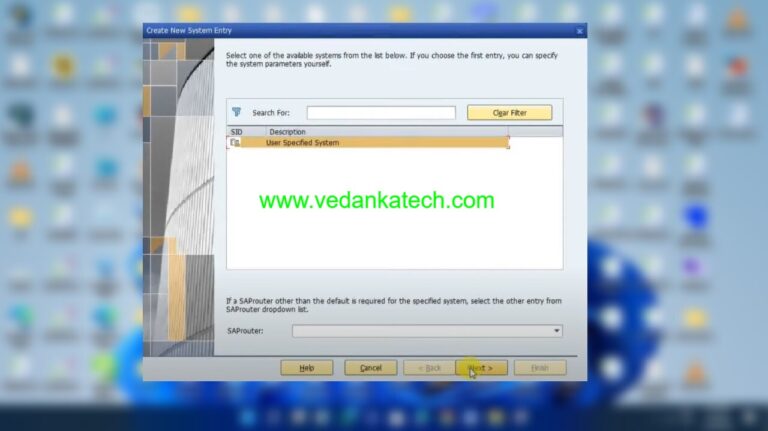
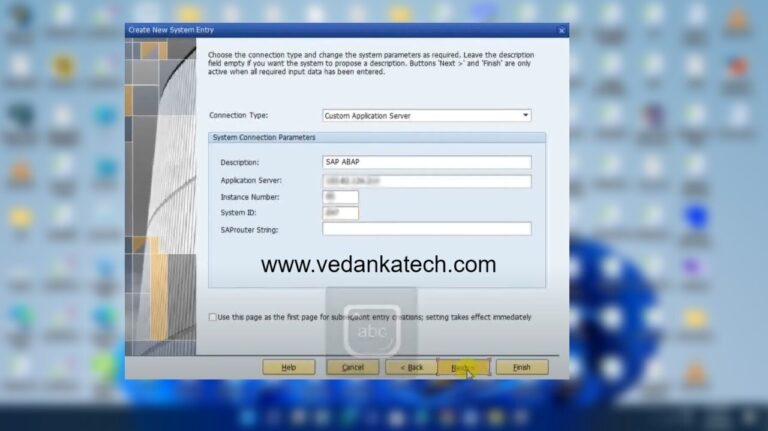
Enter Connection Details: Provide a descriptive name for the connection and input the ECC system’s hostname or IP address, instance number, and System ID (SID).
Configure Connection Options: Review the connection details and save the configuration.
4. Accessing SAP ECC
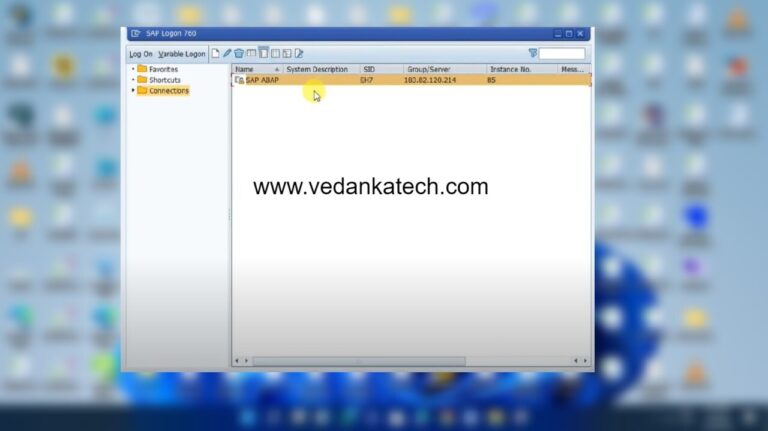
Select the New Connection: Locate the newly created connection in SAP Logon and double-click to initiate the login process.
Enter User Credentials: Input the client number, SAP username, password, and preferred language.
Log In: Confirm the credentials and log in to SAP ECC, gaining access to the SAP Easy Access screen.
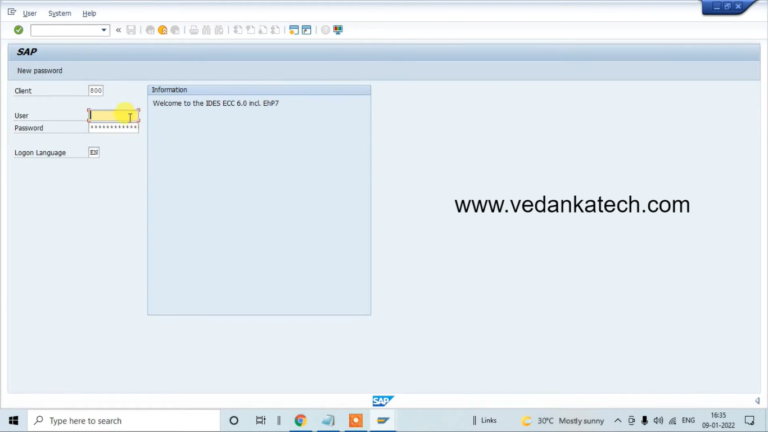
Navigating SAP ECC Interface
Upon successful login, acquaint yourself with the SAP ECC interface, comprising the menu bar, toolbars, and the SAP Easy Access menu. Explore the hierarchical structure of transactions and reports to streamline your operations within SAP ECC.
Author : Aniket Pawar, 9373518385
24GUI0807 – A Guide to install and access SAP Logon / Upgrade SAP GUI
A Guide to install and access SAP Logon / Upgrade SAP GUI
SAP Logon serves as the portal to the vast world of SAP ECC (ERP Central Component), enabling seamless access to crucial business processes and data. In this blog, we’ll unravel the essence of SAP Logon and guide you through the installation and access process, empowering you to harness the full potential of SAP ECC effortlessly.
Understanding SAP Logon
SAP Logon is the doorway to SAP systems, providing users with a user-friendly interface to connect to various SAP environments. It simplifies access to SAP ECC, allowing users to execute transactions, run reports and manage business operations seamlessly.
Step-by-Step Installation Guide
- Preparing for Installation
Before diving into the installation process, ensure that your system meets the necessary requirements and procure the SAP GUI software from authorized sources.
- Installation Process
Download SAP GUI: Access the SAP GUI installer package from the SAP Service Marketplace or your SAP administrator.

Run the Installer: Extract the downloaded files and run the setup.exe file to initiate the installation process.

Follow the Wizard: Navigate through the installation wizard, selecting preferred language, accepting the license agreement, choosing installation components and specifying the installation directory.


Completion: Upon successful installation, finalize the process and launch SAP Logon from the Start menu or desktop.


3. Configuring SAP Logon for ECC Access
Adding a New Connection: Within SAP Logon, create a new connection by clicking the “New” button and selecting “User Specified System.”


Enter Connection Details: Provide a descriptive name for the connection and input the ECC system’s hostname or IP address, instance number, and System ID (SID).
Configure Connection Options: Review the connection details and save the configuration.

4. Accessing SAP ECC
Select the New Connection: Locate the newly created connection in SAP Logon and double-click to initiate the login process.
Enter User Credentials: Input the client number, SAP username, password, and preferred language.
Log In: Confirm the credentials and log in to SAP ECC, gaining access to the SAP Easy Access screen.


Navigating SAP ECC Interface
Upon successful login, acquaint yourself with the SAP ECC interface, comprising the menu bar, toolbars, and the SAP Easy Access menu. Explore the hierarchical structure of transactions and reports to streamline your operations within SAP ECC.
Author : Aniket Pawar, 9373518385

